Red light therapy can effectively reduce your joint pain using specific wavelengths between 630-890nm that penetrate deep into painful areas. You’ll want to focus on both red light (630-670nm) for surface healing and near-infrared (810-890nm) for deeper tissue repair. For best results, position your device 6-12 inches from the affected joint for 5-20 minutes, 2-3 times weekly. Choose a device with at least 100-150 watts of power and wear protective eyewear during treatment. While portable units work well for targeted relief, fixed units offer full-body benefits. The science behind this therapy holds the key to achieving lasting joint pain relief.
Understanding Red Light Wavelengths

Diving into red light therapy reveals two essential wavelength ranges that deliver the most powerful therapeutic benefits: 630-670nm and 810-890nm. When you’re looking to treat joint pain, understanding these wavelengths becomes vital for effective treatment. Studies show that these wavelengths enhance mitochondrial function for optimal cellular energy production.
Commercial devices typically use 660nm and 850nm wavelengths, which fall perfectly within these ideal ranges.
For joint pain specifically, you’ll want to focus on near-infrared light (810-890nm) as it penetrates deeper into your tissues – up to 5 centimeters beneath the skin. This deeper penetration makes it particularly effective for reaching joints and alleviating pain.
While red light (630-670nm) only reaches 2-3mm deep, it still plays a valuable role in surface-level healing and inflammation reduction.
You’ll find that many devices combine both wavelength ranges, which is ideal for thorough treatment. Avoid devices that use less effective wavelengths like 728nm or 980nm, as research shows they don’t provide the same therapeutic benefits.
When selecting your device, look for ones that offer both red and near-infrared light options, as this combination maximizes your treatment potential through different tissue depths.
Benefits For Joint Pain Relief
Red light therapy’s powerful anti-inflammatory effects can help you find relief from joint pain by reducing swelling and improving blood flow to affected areas.
You’ll notice decreased inflammation as the therapy modulates your cellular processes, reducing pro-inflammatory cytokines while boosting anti-inflammatory ones.
Your body’s natural healing processes will speed up, thanks to improved circulation and cellular energy production, leading to faster joint pain recovery. Regular treatments stimulate your body to produce natural pain-killing endorphins for enhanced relief.
Reducing Joint Inflammation
Inflammation sits at the heart of joint pain, making its reduction essential for finding relief.
You’ll find powerful anti-inflammatory relief through both dietary changes and physical interventions. Start by incorporating omega-3 rich foods like fish and nuts into your diet, while adding turmeric and ginger to your meals. The Mediterranean diet principles work particularly well, emphasizing fruits, vegetables, and healthy fats. RICE treatment steps, including rest, ice, compression, and elevation, can effectively manage acute joint inflammation.
You can enhance your anti-inflammatory efforts through targeted physical activities. Low-impact exercises help reduce inflammation while strengthening supporting muscles.
Combine this with hot and cold therapy for immediate relief – apply ice packs to reduce acute inflammation or heat to soothe stiff joints. If you’re open to alternative approaches, acupuncture and kinesiotaping have shown promising results.
For supplemental support, consider NSAIDs like ibuprofen for temporary relief, or try natural supplements such as fish oil. Topical treatments containing capsaicin or salicylates can provide localized relief.
Don’t overlook stress management – practices like meditation and yoga can substantially impact inflammation levels. For more intensive treatment, talk to your healthcare provider about corticosteroid or hyaluronic acid injections.
Accelerated Healing Process
While managing inflammation offers immediate relief, accelerating your body’s natural healing processes can provide lasting joint pain solutions. You can harness powerful healing modalities like PRP therapy and red light therapy to speed up your recovery. Daily activities like opening jars or performing simple tasks can become extremely challenging and painful.
These treatments work by stimulating tissue repair, increasing blood flow, and activating your body’s natural repair mechanisms.
For the best results, you’ll want to start treatment as early as possible to prevent further damage and improve outcomes. Combining different therapeutic approaches can greatly enhance your healing journey:
- Use red light therapy to boost mitochondrial energy production and increase blood flow without invasive procedures
- Consider PRP injections to deliver concentrated growth factors directly to damaged tissues
- Incorporate gentle exercises to stimulate blood flow and strengthen supporting muscles
- Include hydrotherapy exercises for early mobilization without excessive joint stress
You don’t have to rely on a single treatment method. By taking an all-encompassing approach that includes proper load management and timely intervention, you’ll create ideal conditions for healing.
Remember that each therapeutic modality plays a unique role in accelerating your recovery and getting you back to pain-free movement.
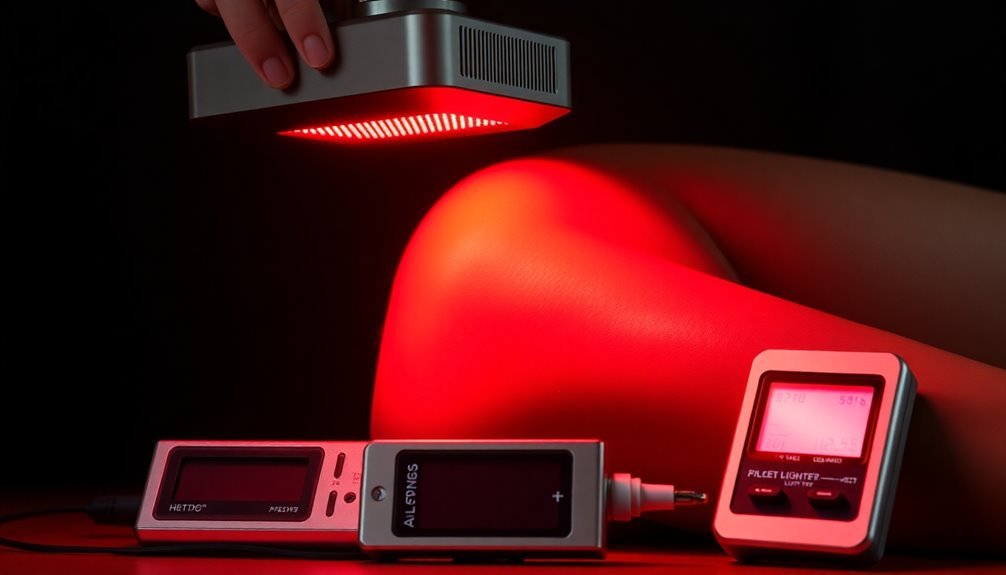
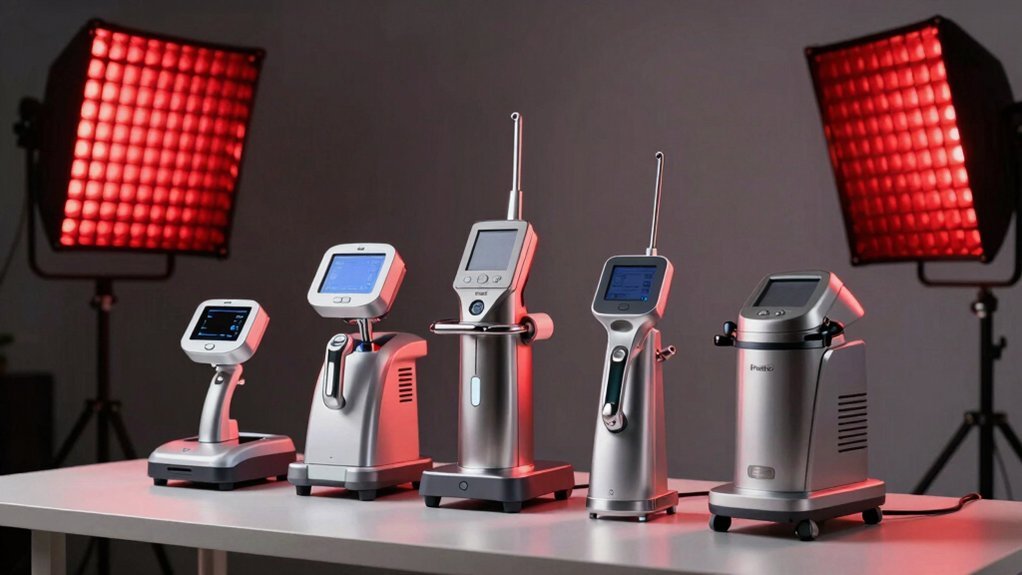
Selecting Your Light Therapy Device
When choosing a red light therapy device for joint pain, you’ll need to take into account both the power output and coverage area to match your specific treatment needs.
You’ll want to look for devices that offer both red (630-660nm) and near-infrared (850nm) wavelengths to treat both surface-level and deep tissue joint issues. Regular treatment sessions of 20 minutes per day can provide significant benefits for joint pain relief.
Your lifestyle and treatment goals will determine whether you’re better suited to a portable unit like the MOVE+ for targeted relief, or a larger fixed device like the R3 for treating multiple joints simultaneously.
Power and Coverage Specs
Choosing the right power specifications for your light therapy device is crucial for effective joint pain treatment. For targeting joint pain, you’ll need a device that delivers sufficient power to penetrate deep tissues, typically in the 100-150 watt range. While lower wattage devices can work for surface-level therapy, deeper joint issues require more robust power output. The combination of 660nm and 850nm wavelengths provides optimal penetration for joint therapy.
- Look for irradiance levels above 162 mW/cm² for effective deep tissue penetration
- Choose devices with 30-degree beam angles for ideal light distribution
- Select models with high-quality, efficient LEDs to maintain consistent therapy
- Opt for devices with automatic shut-off timers to prevent overuse
For full-body treatment or multiple joint issues, consider devices with higher wattage (1,000-1,500W) and larger coverage areas. These systems typically feature more LEDs and broader treatment surfaces, making them ideal for thorough joint therapy.
Remember that while higher wattage usually means better coverage, the efficiency of the LEDs and the device’s irradiance levels are equally important factors in determining therapeutic effectiveness.
Device Wavelength Options
Beyond power specifications, the wavelength of your light therapy device plays a central role in treatment effectiveness. For the best joint pain treatment, you’ll want to focus on devices that offer both red light (630-660nm) and near-infrared light (800-850nm) wavelengths, as this combination provides thorough coverage for surface and deep tissue relief.
When selecting your device, pay particular attention to the 660nm and 850nm wavelengths, as these are clinically proven to be most effective for joint conditions. The 660nm wavelength works well for surface-level inflammation, while 850nm penetrates deeper to address underlying joint issues. These wavelengths stimulate cellular activity through photon absorption in mitochondria, enhancing the body’s natural healing processes.
Avoid devices that use less effective wavelengths like 730nm or 980nm.
For maximum therapeutic benefit, choose a device that lets you customize wavelength settings based on your specific joint condition. If you’re dealing with deep joint pain, prioritize near-infrared wavelengths around 810-850nm.
For surface-level joint inflammation, red light wavelengths between 630-660nm will be more beneficial.
Remember that devices combining multiple proven wavelengths typically offer the most versatile treatment options, allowing you to address both superficial and deep tissue concerns effectively.
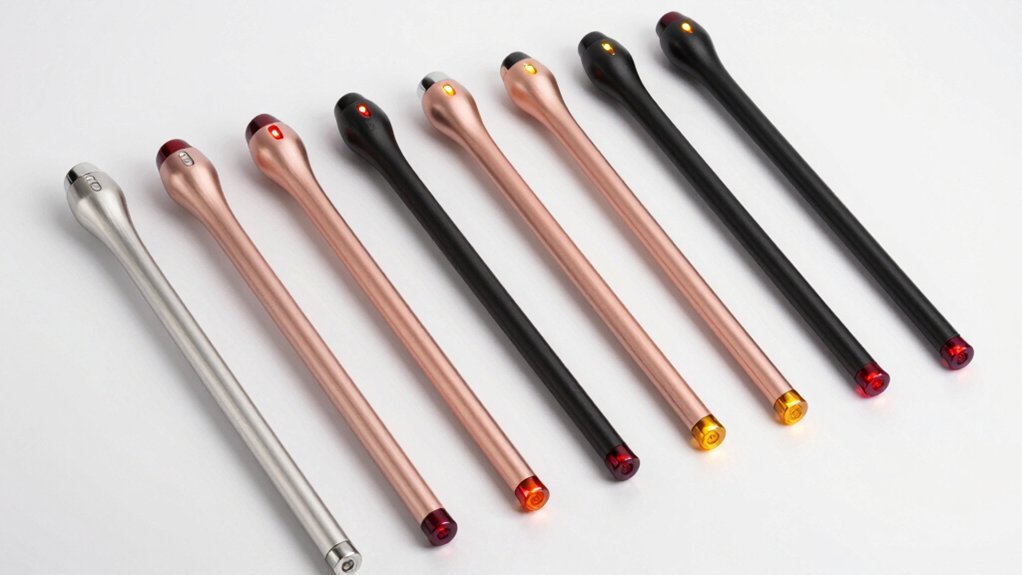
Portable vs. Fixed Units
In light of your treatment needs, deciding between portable and fixed light therapy units represents a crucial first step.
Portable devices offer flexibility and convenience, making them ideal if you’re treating specific joints or need therapy while traveling. For optimal results, devices should deliver therapeutic irradiance levels between 20-150 mW/cm2. They’re typically more budget-friendly and require minimal setup, though they may take longer to treat larger areas.
Fixed units, while requiring dedicated space, deliver more extensive treatment with higher power output. If you’re dealing with multiple joint issues or need full-body therapy, a fixed unit can save you significant time by treating several areas simultaneously.
Though they come with a higher upfront cost, they’re often more cost-effective for frequent, extensive treatments.
Consider these key factors when making your choice:
- Your primary treatment areas (specific joints vs. multiple locations)
- Available space in your home or office for device setup
- Frequency of planned treatments (occasional vs. daily use)
- Budget constraints and long-term cost considerations
When treating joint pain, your lifestyle and treatment routine will largely determine which option serves you best. Remember that treatment consistency matters more than unit type, so choose what you’ll use regularly.
Optimal Treatment Time and Distance
Successfully treating joint pain with red light therapy requires careful attention to both timing and positioning. You’ll want to position your device 6-12 inches from your skin to achieve maximum penetration without discomfort. This distance allows the light to reach deeper tissues while maintaining safety and effectiveness.
For best results, plan your treatments to last between 5-20 minutes per session, with 2-3 sessions per week. You’ll likely notice improvements after 2-4 weeks of consistent use. Consider scheduling your treatments in the morning to reduce daily stiffness or in the evening to improve sleep quality.
| Treatment Aspect | Basic Protocol | Advanced Protocol |
|---|---|---|
| Session Length | 5-10 minutes | 15-20 minutes |
| Weekly Frequency | 2 sessions | 3-4 sessions |
| Treatment Distance | 12 inches | 6-8 inches |
Remember to monitor your progress and adjust your treatment plan as needed. While these guidelines work for most people, you may need to customize your approach based on your specific condition and response to therapy. If you’re combining red light therapy with other treatments, consult a healthcare provider to fine-tune your treatment schedule.
Key Safety Precautions
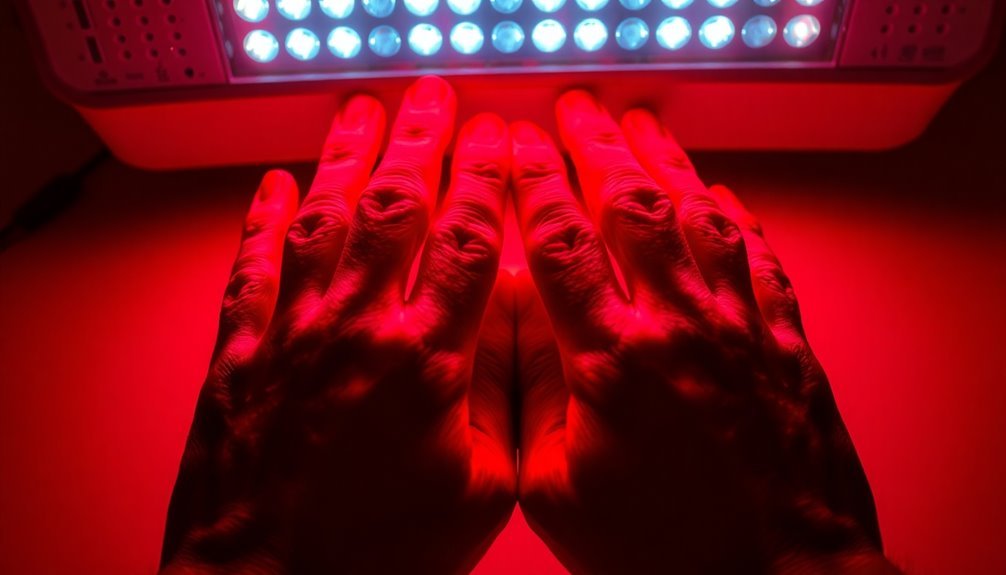
When using red light therapy for joint pain, you’ll need to wear FDA-approved protective eyewear that matches your device’s specific wavelength to prevent eye damage.
Position your device on a stable surface at the manufacturer’s recommended distance from your treatment area, typically 6-12 inches away, to guarantee the best light penetration and safety.
Monitor the treatment area’s temperature throughout your session, and if you notice excessive heat or discomfort, immediately increase the distance between the device and your skin.
Protective Eyewear Requirements
Three essential types of protective eyewear shield your eyes during red light therapy (RLT) sessions: light-blocking glasses, filtering glasses, and blackout goggles. Your regular sunglasses or contact lenses won’t provide enough protection, so it’s vital to use eyewear specifically designed for RLT wavelengths.
When choosing protective eyewear for your joint pain treatment sessions, consider these critical factors:
- Light-blocking glasses completely shield specific wavelengths, making them ideal for high-intensity treatments
- Filtering glasses work well for lower-intensity sessions, allowing some beneficial light through while blocking harmful rays
- Specialized goggles are necessary when you’re using the device at close range or for extended periods
- Blackout goggles offer maximum protection during ultra-bright light exposure
You’ll need to wear protective eyewear whenever you’re directly in the beam of the RLT device.
If you’re treating areas more than 2 feet away from your eyes, you can sometimes avoid eyewear by keeping your eyes closed, as eyelids provide some natural protection.
Always follow your device manufacturer’s guidelines and verify that your protective eyewear meets ANSI Z136.1 safety standards for maximum protection during treatment.
Equipment Placement and Distance
Proper equipment placement and distance play a key role in both your safety and treatment effectiveness.
When using the MOVE+ device, securely strap it around your target joint, ensuring it’s not too tight but snug enough to stay in place.
For TENS therapy, position the electrodes near your tibial nerve at the ankle or directly on the muscle group you’re treating.
You’ll need to maintain appropriate distances to prevent burns or skin irritation. Don’t place any device directly on open wounds or particularly sensitive areas.
If you’re using SoftWave therapy, make sure it’s administered by a qualified healthcare professional who can properly position the applicator against your knee.
When using orthotics or assistive devices, position them to effectively redistribute weight away from your damaged joint.
For red light therapy devices like the MOVE+, you can safely treat various joints including your knee, hand, and foot.
Always check your skin condition before starting treatment, and keep electrical devices away from water.
Remember to inspect your equipment regularly for damage and follow the manufacturer’s guidelines for proper placement and distance specifications.
Temperature Monitoring Guidelines
Temperature monitoring stands out as one of the most critical safety aspects in joint pain therapy. When you’re using wavelength treatments at home, it’s crucial to maintain safe temperature levels to prevent tissue damage and guarantee effective treatment.
You’ll need to continuously monitor the treatment area and adjust settings accordingly to stay within recommended ranges.
To help you maintain proper temperature control during your therapy sessions, follow these key guidelines:
- Always start with the lowest temperature setting and gradually increase it based on your comfort level and treatment requirements
- Don’t exceed recommended temperature thresholds – if your device has temperature indicators, keep them within the green or safe zones
- Monitor your skin’s response throughout the session – if you experience excessive heat or discomfort, immediately reduce the intensity
- Use the timer function on your device to avoid prolonged exposure, typically keeping sessions between 15-20 minutes
Remember to calibrate your device regularly if it includes temperature monitoring features. If you’re using a basic device without built-in temperature monitoring, pay close attention to how your skin feels and stop immediately if you experience any burning sensation or unusual discomfort. Your safety depends on maintaining appropriate temperature levels throughout each treatment session.
Targeting Specific Joint Areas
Targeting joint pain effectively requires understanding which areas of your body need attention and what treatment methods work best for each specific location.
When you’re dealing with joint pain, it’s essential to identify whether you’re experiencing deep or surface-level discomfort, as this will determine the most effective wavelength treatment.
For deeper joint pain in areas like knees and hips, you’ll want to use near-infrared light (800-850nm) as it penetrates further into the tissue. If you’re treating surface-level joint pain in your hands or smaller joints, red light therapy (630-660nm) can be highly effective. You can combine both wavelengths for all-encompassing treatment of complex joint issues.
To maximize your treatment’s effectiveness, you’ll need to position the light therapy device directly over the affected joint. For knee pain, target both the front and back of the joint.
When treating hip pain, focus on the joint’s entire range of motion. For shoulder pain, make sure you’re covering both the anterior and posterior aspects of the joint.
Remember that consistent, precise targeting is key to achieving thorough results in pain reduction and healing.
Combining Different Light Wavelengths
Building on the principles of targeted treatment, the combination of different light wavelengths offers enhanced therapeutic benefits for joint pain relief. By using both red light (630-660nm) and near-infrared (800-850nm) wavelengths, you’ll target both surface-level inflammation and deep tissue problems simultaneously.
When you combine these wavelengths, you’re basically creating a thorough healing approach. The shorter red light wavelengths work on surface-level conditions, while longer NIR wavelengths penetrate deeper into your joints and tissues.
This dual-action strategy guarantees you’re addressing pain and inflammation at multiple levels.
Here’s what you can expect from combined wavelength therapy:
- Faster healing through enhanced cellular energy production
- Better joint mobility due to reduced inflammation at all tissue depths
- More effective pain relief compared to single wavelength treatments
- Improved collagen synthesis for stronger joint tissue repair
To get started with combined wavelength therapy, look for devices that offer both red and NIR light options. You’ll want to follow the manufacturer’s guidelines carefully and consider consulting your healthcare provider to develop a treatment plan that suits your specific needs.
This approach can be particularly effective when integrated with your existing pain management routine.
Treatment Frequency Guidelines
While developing an effective light therapy routine, understanding the right treatment frequency is essential for the best joint pain relief.
For acute joint pain, you’ll want to start with 2-3 sessions per week, adjusting based on how your body responds. These treatments typically require fewer sessions and can use continuous wave laser for quick results.
If you’re dealing with chronic joint pain, you’ll need a more intensive approach. Start with 3-5 sessions weekly, each lasting 10-20 minutes. Some cases might benefit from daily sessions initially, but watch for skin sensitivity and adjust accordingly. Position yourself 15-50 cm from the light source during each session.
You can begin with daily treatments and then scale back to every other day for long-term maintenance. Remember that more isn’t always better – excessive light exposure can actually reduce the therapy’s effectiveness.
Keep track of your body’s response and communicate with your healthcare provider to optimize your treatment plan. They’ll help you adjust the frequency based on your pain severity, overall health, and how well you’re responding to the therapy.
Measuring Treatment Progress
For effective light therapy outcomes, measuring your treatment progress requires both systematic tracking and thorough evaluation methods.
You’ll need to consistently monitor your pain levels using standardized scales like the Visual Analog Scale (VAS) or numeric rating scale, recording these scores multiple times daily in a treatment diary.
To accurately track your progress, combine both objective measurements and subjective experiences:
- Use the WOMAC index to evaluate your joint function and mobility changes during treatment
- Monitor your range of motion by testing flexion and extension capabilities before and after sessions
- Track your walking ability and daily activity performance to assess functional improvements
- Keep detailed notes about pain intensity, duration, and any changes in your symptoms
Don’t forget to measure your baseline stats before starting treatment, as these will serve as your reference point. Compare your ongoing measurements against these initial values to gauge improvement.
You should also document how long the pain relief lasts after each session and note any changes in your daily activities.
This extensive approach will help you determine if the treatment’s working effectively and when adjustments might be needed.
Long-Term Maintenance Strategies
Successful long-term joint pain management requires a strategic mix of consistent treatment sessions and proper light therapy techniques. You’ll need to commit to 2-4 sessions weekly, typically spanning 10-15 sessions over several weeks to achieve significant improvement.
For the best results, you’ll want to use both red light (630-660 nm) and near-infrared (800-850 nm) wavelengths. Red light works best for surface-level pain, while NIR penetrates deeper tissues.
Apply 4-8 J with 785-860 nm wavelengths or 1-3 J with 904 nm per treatment spot to maximize effectiveness.
You can enhance your treatment’s impact by combining light therapy with physical exercises and other complementary treatments. This integrated approach helps improve circulation, stimulate cellular repair, and reduce inflammation more effectively.
Your maintenance plan should adjust based on your pain severity and individual response to treatment.
Don’t forget to maintain regular sessions even after initial improvement to prevent pain recurrence. By following these protocols consistently and combining them with exercise therapy, you’ll support your body’s natural healing processes and maintain long-term joint health.
Frequently Asked Questions
Can I Use Red Light Therapy While Wearing Sunscreen?
Yes, you can use red light therapy while wearing sunscreen. Your sunscreen won’t interfere with the treatment since it’s designed to block UV rays, not the red light wavelengths used in therapy.
Does Clothing Interfere With the Effectiveness of Red Light Therapy?
Yes, clothing does interfere with red light therapy. You’ll get the best results with direct skin exposure, but if you must wear clothes, choose thin, light-colored natural fabrics that allow better light penetration.
Should I Clean the Device Lens Between Treatment Sessions?
Yes, you should clean the device lens between sessions using a soft, lint-free cloth. This prevents oils and debris from reducing light intensity and maintains hygiene. Don’t use harsh chemicals that could damage the lens.
Can Red Light Therapy Help With Post-Surgery Joint Rehabilitation?
Yes, you’ll find red light therapy very beneficial for post-surgery joint rehabilitation. It’ll reduce your pain, decrease inflammation, enhance tissue healing, and support muscle recovery, making your rehabilitation process more effective and comfortable.
Are There Different Protocols for Morning Versus Evening Treatments?
Yes, you’ll want shorter, lower-intensity sessions in the morning for energy, while evening treatments can be longer and more intense for deep healing and relaxation. Different wavelengths work better at different times.
In Summary
You’ve now got the essential knowledge to start your wavelength therapy journey for joint pain relief. Remember to follow the safety guidelines, be consistent with your treatments, and track your progress carefully. While you’ll likely notice improvements within a few weeks, staying committed to your maintenance routine will help guarantee long-term benefits. If your pain persists or worsens, don’t hesitate to consult your healthcare provider.
Leave a Reply