Light therapy offers a powerful at-home treatment option for healing various skin conditions and promoting overall wellness. You'll need to choose the right type – infrared for deep tissue healing, full-spectrum for mood enhancement, LED for skin problems, or red light for inflammation reduction. Position your device 6-12 inches from the treatment area and start with 5-10 minute sessions, gradually increasing duration. For best results, maintain a consistent schedule of 3-7 sessions weekly, depending on your condition. Follow manufacturer guidelines for safety and wear protective eyewear if recommended. Understanding the complete protocol will help maximize your healing journey.
Understanding Light Therapy Benefits

Various forms of light therapy have revolutionized modern healing practices by harnessing specific wavelengths of light to trigger the body's natural repair mechanisms.
You'll find that each type of light therapy offers unique healing benefits, making it essential to understand which one best suits your needs.
When you're dealing with deep tissue issues or chronic pain, infrared light therapy penetrates beneath the skin's surface to improve circulation and reduce inflammation.
It's particularly effective for muscle recovery and joint pain management. Safety precautions should be taken, especially for pregnant women or those with open wounds.
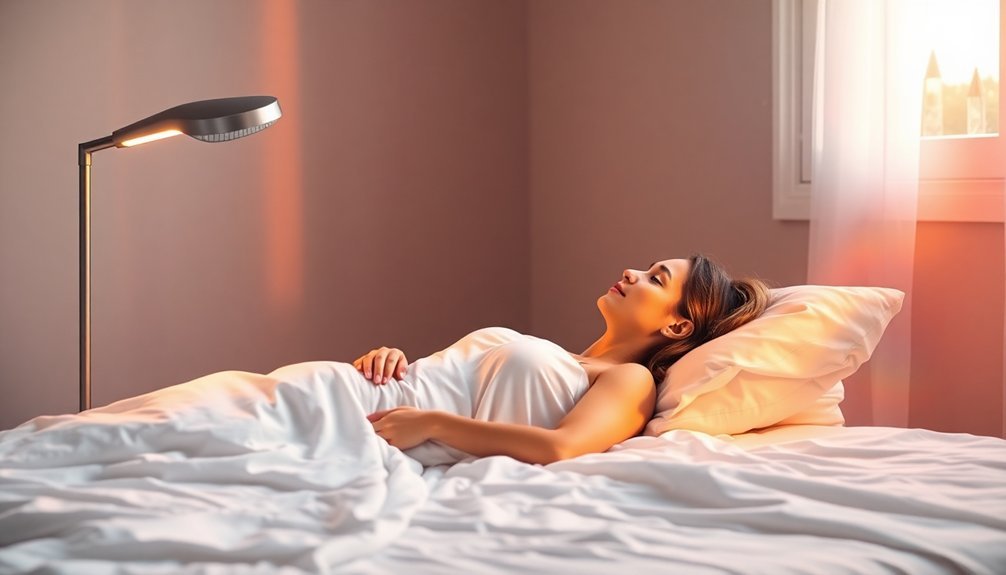
Full-spectrum light therapy, on the other hand, works systemically by mimicking natural sunlight, helping you regulate your sleep cycle and boost your mood through increased serotonin production.
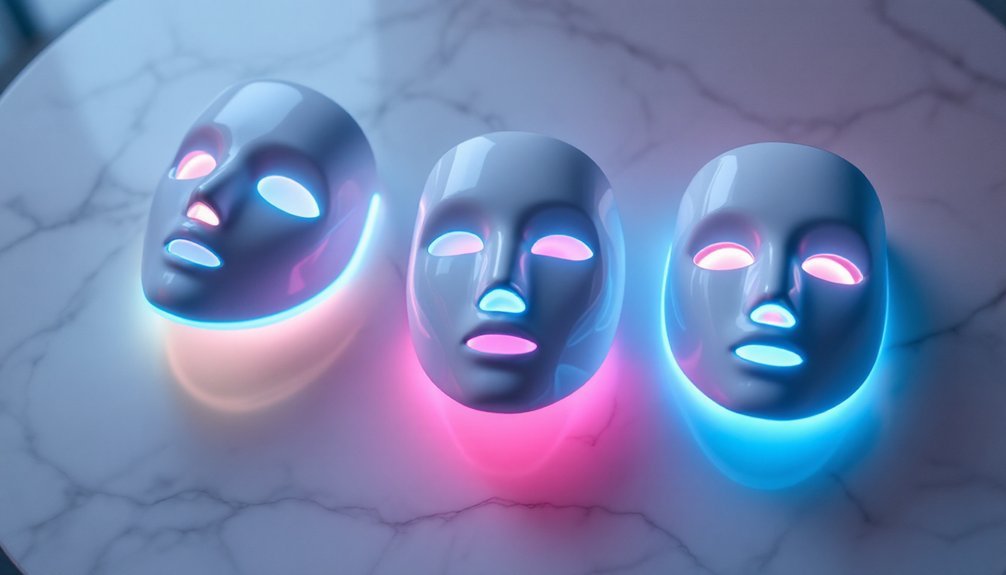
If you're focused on skin health, LED light therapy targets specific skin conditions while stimulating collagen production.
It's the same technology that helped Navy SEALs heal wounds faster, and now you can use it to treat acne, rosacea, and other skin concerns.
Red light therapy offers perhaps the most thorough cellular benefits, enhancing your body's ATP production, reducing inflammation, and accelerating wound healing.
It's particularly effective if you're looking to improve skin firmness or manage arthritis pain naturally.
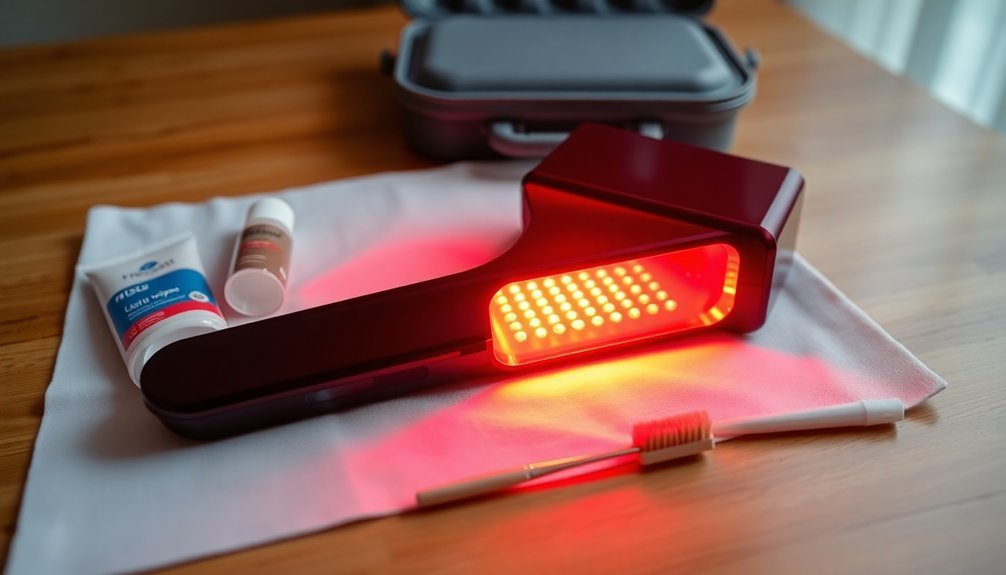
Setting Up Your Home Device
A successful light therapy setup begins with thoughtful device placement and proper safety measures. When you're ready to start your treatment, position your device 6-12 inches from the target area for handheld units, or mount your panel device to effectively cover the treatment zone.
Don't forget to wear protective eyewear if your manufacturer recommends it.
Before operating your device, carefully read the instruction manual and familiarize yourself with its settings. You'll want to select the appropriate mode – red light or near-infrared – based on your treatment goals. The Demi device panel allows you to choose between red light and near infrared individually or combined.
Start with lower intensity settings and gradually increase them as you become more comfortable with the therapy.
Set your timer according to the manufacturer's guidelines, typically between 10-20 minutes per session. Ascertain you're in a clean, quiet room with comfortable temperature to enhance your treatment experience.
Pay attention to the device's power density and wavelength specifications – 660nm works well for pain relief and inflammation.
Keep your device properly maintained by turning it off after each use and storing it in a dust-free environment.
Remember to check that your device has FDA approval for home use and meets all electrical safety standards.
Treatment Areas and Applications
When using light therapy at home, you'll want to position your device 6-12 inches from the target treatment area for best results.
Your face, neck, and joints typically respond best to light therapy due to their high concentration of cells and proximity to the skin's surface.
You can treat multiple areas in a single session, but be sure to maintain consistent distance and exposure time for each targeted spot.
Red light therapy has shown impressive results in clinical studies, reducing acne lesions by 52% after twice daily treatments over 8 weeks.
Best Practices For Placement
Proper placement of light therapy devices serves as the cornerstone of effective treatment.
For bright light therapy, position your lamp 16-24 inches from your face at eye level, tilted 15 degrees if mounted above. You'll need direct light reaching your eyes while avoiding uncomfortable glare for maximum effectiveness. Early morning treatment is most beneficial for regulating your sleep-wake cycles.
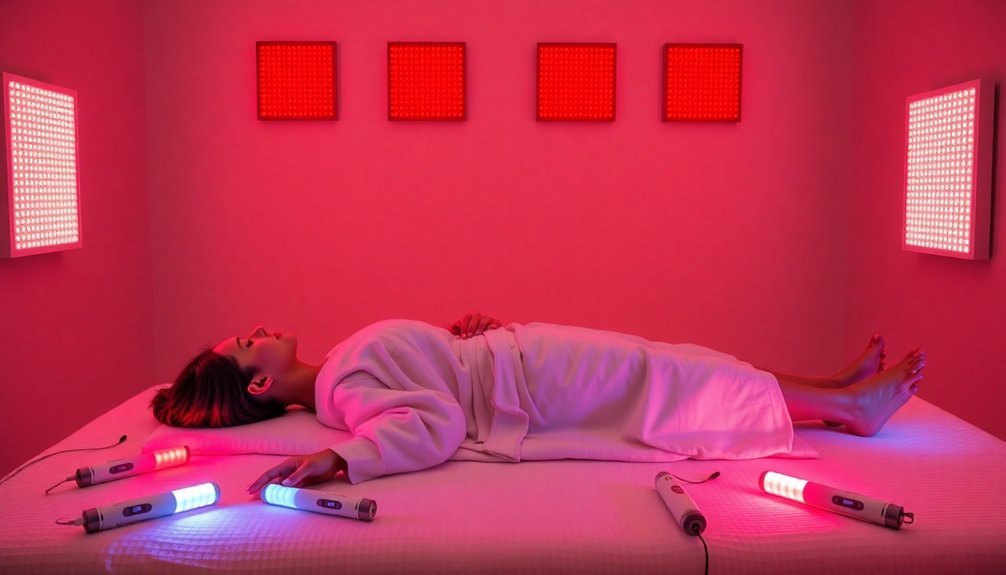
When using red light therapy, you'll want to target specific areas of concern. Whether you're using a handheld wand or panel, place the device directly over the treatment area to guarantee deep penetration into tissues. This placement maximizes blood flow stimulation and cellular energy production in your targeted zones.
To optimize your treatment's success, maintain consistency in both positioning and timing. If you're treating skin conditions, you'll need to take into account the specific wavelengths required for your concerns.
Different LED colors penetrate at varying depths, so follow your device's guidelines carefully. For all types of light therapy, establish a comfortable position that you can maintain throughout your session.
Don't sit too close or too far, as this can reduce the treatment's effectiveness. Remember to protect your eyes and adjust the distance based on your comfort level and the device's intensity.
Body Parts Most Responsive
Light therapy's remarkable effectiveness varies across different areas of the body, with certain regions showing heightened responsiveness to specific wavelengths. Your muscles and joints respond particularly well to red light therapy, which penetrates deep into tissue to reduce inflammation, enhance blood flow, and accelerate healing. The mitochondrial ATP production increases significantly when exposed to infrared wavelengths, boosting cellular energy and repair.
For skin conditions and tissue repair, you'll find infrared light therapy especially beneficial. It reaches deeper layers of tissue, promoting faster healing and increasing nitric oxide production for improved blood circulation. This makes it ideal if you're treating acne, psoriasis, or seeking general skin rejuvenation.
When it comes to mood regulation and sleep patterns, full-spectrum light therapy proves most effective. It'll help regulate your circadian rhythm, boost serotonin production, and can greatly improve symptoms of Seasonal Affective Disorder (SAD).
You can target specific areas like shoulders, knees, and elbows for localized pain relief, while also addressing whole-body wellness concerns.
Whether you're treating arthritis, muscle spasms, or skin conditions, light therapy's versatility allows you to focus on particular body parts or apply it more broadly for overall healing and homeostasis.
Skin Healing and Recovery
Red light therapy can boost your body's natural collagen production by energizing specialized cells called fibroblasts, leading to improved skin elasticity and faster wound healing.
You'll experience reduced inflammation as the therapy stimulates your cellular metabolism and triggers the release of anti-inflammatory proteins. As a proven non-invasive treatment option, light therapy offers a gentle approach to skin healing without harsh side effects.
Your skin's recovery process becomes more efficient through this natural approach, which helps minimize scarring while promoting healthier, more resilient skin tissue.
Collagen Production Benefits
Understanding collagen's role in skin healing reveals why it's such an important component of effective light therapy treatments. This protein serves as a vital scaffold for tissue regeneration, maintains skin elasticity, and promotes the formation of new blood vessels necessary for healing.
When you combine red light therapy with natural collagen production, you'll enhance your skin's healing capabilities. The therapy activates fibroblasts, which are cells responsible for synthesizing collagen, creating a stronger foundation for wound repair. During the healing process, Type III collagen is particularly active in forming the initial flexible matrix. You'll notice improved elasticity and firmness in your skin, while the treatment simultaneously reduces inflammation associated with injuries.
You can maximize these benefits by supporting your body's natural collagen production. Include vitamin C-rich foods in your diet, apply aloe vera topically, and consider taking collagen supplements to boost your skin's healing potential.
For chronic wounds or specific skin concerns, you'll find that collagen-based dressings create an ideal moist environment that speeds up healing.
The combination of red light therapy and enhanced collagen production doesn't just heal wounds—it also improves the appearance of scars and promotes overall skin rejuvenation, making it an effective solution for thorough skin care and recovery.
Natural Inflammation Control
Inflammation management doesn't have to rely solely on medications when natural solutions offer powerful healing benefits. When combined with light therapy, natural remedies can greatly enhance your skin's healing process and reduce inflammation effectively.
| Natural Solution | Benefits | Best Usage |
|---|---|---|
| Aloe Vera + Red Light | Double anti-inflammatory effect | Apply gel before light therapy |
| Cold Compress | Reduces swelling and pain | Alternate with light sessions |
| Oatmeal Bath | Soothes irritated skin | Use before evening treatment |
| Turmeric + Light | Enhanced healing response | Take supplement daily |
You'll find the most success by combining these natural approaches with your light therapy routine. Start by incorporating anti-inflammatory foods into your diet, particularly leafy greens and omega-rich fish. Apply coconut oil or honey directly to affected areas before your light therapy sessions to boost their effectiveness. For ideal results, use red light therapy at 24 mW/cm² intensity while maintaining a clean diet free from common allergens like gluten and dairy. Regular use of apple cider vinegar can help maintain optimal skin pH levels during treatment. Remember to include probiotic-rich foods to support your immune system during the healing process. Tea tree and lavender oils can also complement your treatment, but avoid them on burns or open wounds.
Safety Guidelines and Best Practices
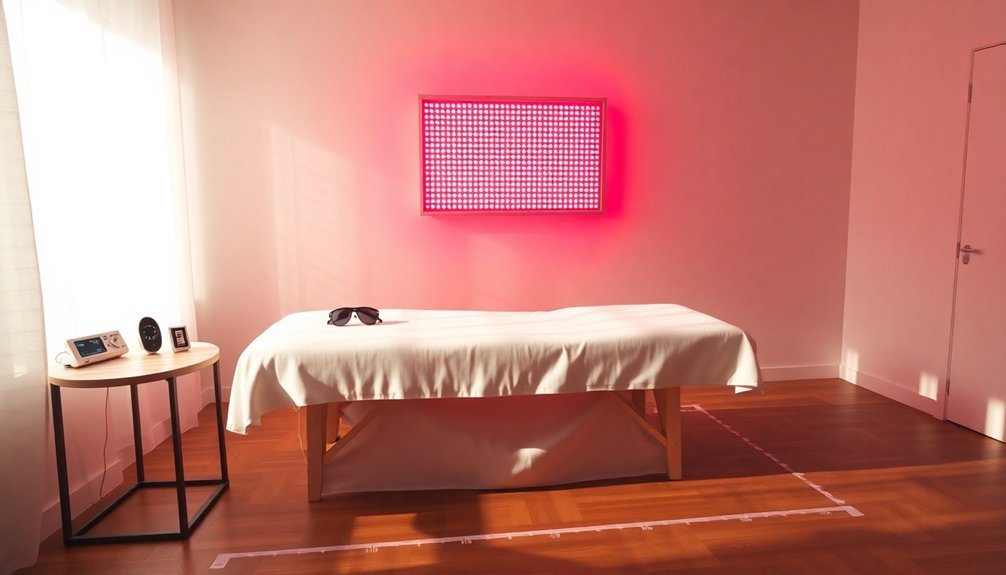
When it comes to light therapy, safety should always be your top priority. Before starting any treatment, you'll need proper eye protection, as intense light can cause eye strain and damage. Always use medical-grade eye shields or goggles during your sessions, and maintain a consistent distance from the light source.
Start with shorter sessions to assess your skin's tolerance, then gradually increase duration. If you're pregnant, don't apply light therapy over your uterus area, and avoid treating open wounds or skin growths. You'll need to consult your healthcare provider if you're taking medications, as some can increase photosensitivity.
Ensure your light therapy device meets IEC 60601-1 standards and carries verification from Nationally Recognized Testing Laboratories. Watch for potential side effects like headaches, sleep disturbances, or skin irritation. If you experience any adverse reactions, reduce session length or discontinue use.
For the best results, follow the recommended usage guidelines strictly. If you have pre-existing skin conditions, consult a dermatologist before beginning treatment.
Treatment Duration and Frequency
Successful light therapy treatment depends on following the right schedule and timing for your specific needs. For most conditions, you'll need to commit to 5-7 sessions per week, though pain relief may require only 3-5 weekly treatments.
Start with shorter sessions of 5-10 minutes and gradually increase to 15-20 minutes as your body adjusts. Your treatment duration will vary based on the light's intensity and your condition. If you're using a low-intensity device, plan for 10-20 minute sessions. High-intensity devices require shorter periods of just 1-5 minutes.
For skin health and acne treatment, aim for 10-20 minute sessions 5-7 times weekly. Pain relief typically needs longer sessions of 20-30 minutes, 3-5 times per week. You'll get the best results by maintaining a consistent schedule.
If you have an at-home device, follow the manufacturer's guidelines carefully to avoid overexposure. While daily use can accelerate healing and recovery, always monitor your skin's response and adjust the frequency if you notice any irritation or discomfort.
Results and Progress Tracking
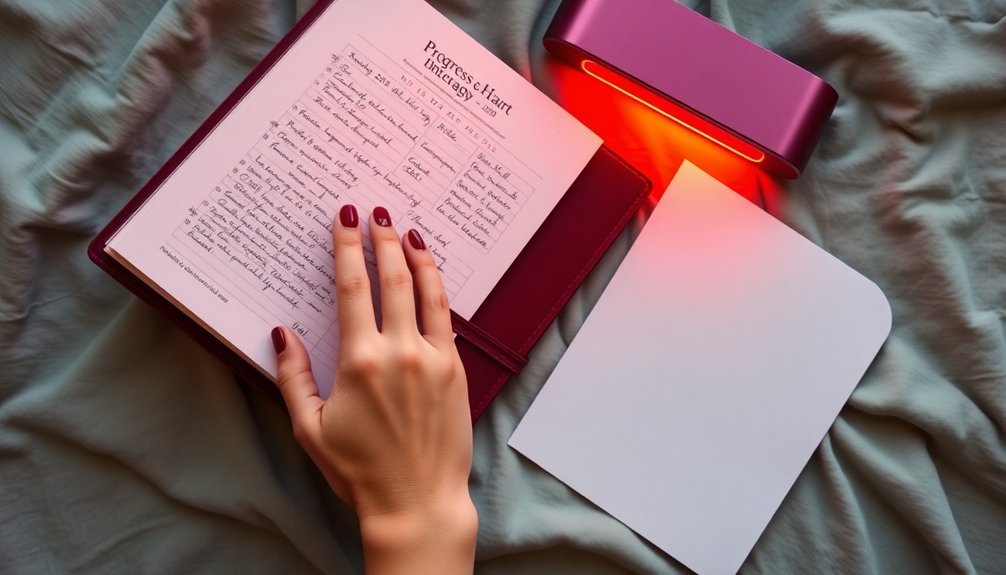
Progress tracking serves as your roadmap to successful light therapy outcomes. By maintaining detailed records of your sessions and results, you'll be able to measure improvements and optimize your treatment plan effectively. Start by establishing baseline measurements for your specific condition before beginning therapy.
Keep a dedicated journal to document each session, including duration, intensity, and any immediate effects you notice. If you're treating skin conditions, take clear photos at regular intervals to visualize changes over time. For pain management, rate your discomfort levels before and after treatments using a consistent scale.
When dealing with joint or muscle issues, track your range of motion to measure functional improvements. You'll find that consistent tracking helps you identify patterns in how your body responds to treatment.
Share these records with your healthcare provider to make informed decisions about adjusting your therapy parameters. Consider using specialized apps or digital tools to simplify your tracking process. Visual documentation can be particularly motivating, as you'll see concrete evidence of your progress and stay committed to your treatment regimen.
Common Skin Conditions Treatment
Light therapy offers powerful solutions for a wide range of common skin conditions. If you're struggling with acne, blue light therapy can effectively reduce bacteria in your skin, while red light therapy helps minimize inflammation and promote healing.
For those dealing with psoriasis or vitiligo, narrowband UVB therapy and PUVA treatments can provide significant relief by regulating your immune response.
You'll find that rosacea and eczema respond well to red light and LED treatments, which work by calming inflammation and supporting your skin's natural healing processes. If you're concerned about aging skin, red light therapy stimulates collagen production, helping to reduce fine lines and wrinkles.
For those experiencing hair loss, this same treatment can also promote hair growth in cases of alopecia.
When selecting a light therapy treatment, you'll need to take into account your skin type and any existing medical conditions. While LED therapy is generally safe for all skin types, some treatments like IPL mightn't suit darker skin tones.
It's important to consult with a dermatologist before starting any light therapy regimen, as they'll help determine the most effective treatment for your specific condition.
Device Maintenance and Care
Proper maintenance of your light therapy device guarantees its best performance and longevity. Before cleaning, always turn off and unplug your device to prevent electrical hazards. Use a soft, dry cloth to wipe down surfaces and bulbs, and clean detachable parts with mild soap and water after each use. Don't submerge the device or expose it to excessive moisture.
Store your device in its original packaging or protective case in a cool, dry place away from direct sunlight and extreme temperatures. Keep power cords unraveled and loose to prevent damage, and regularly check bulb connections for proper functioning. Avoid storing your device in humid areas like bathrooms or garages.
Monitor your device for signs of wear and tear, including power cord damage or connection issues. Stay current with firmware updates if your device requires them, and follow the manufacturer's specific maintenance guidelines.
Don't attempt repairs yourself, as this could void your warranty and create safety risks. If you encounter problems, contact the manufacturer's customer support immediately. Document any issues and maintain records of servicing.
For repairs beyond basic maintenance, consult an authorized technician to guarantee proper care and preserve your warranty coverage.
Light Therapy Treatment Schedule
You'll want to start your light therapy treatments conservatively with 3-5 weekly sessions lasting 1-10 minutes per area, gradually building up to daily 20-minute sessions.
The ideal time for your sessions depends on the intensity of your device, with high-intensity lights requiring just 1-5 minutes and low-intensity treatments needing 10-20 minutes per session.
To maintain safety and effectiveness, you should allow 24 hours between treatments of the same area while staying consistent with your chosen schedule.
Daily Treatment Duration Guide
When it comes to light therapy treatments, finding the right daily duration is essential for achieving excellent results. Most sessions should last between 10-20 minutes, though you'll want to start with shorter durations of 3-15 minutes as your body adjusts to the treatment. For deeper tissue concerns or conditions like seasonal affective disorder (SAD), you may need extended sessions of up to 30 minutes.
| Condition | Duration | Frequency |
|---|---|---|
| General Health | 10-20 min | 3-5x weekly |
| Pain Relief | 15-20 min | Daily |
| Skin Care | 10-15 min | 3-5x weekly |
To maximize your treatment's effectiveness, position yourself 10-15 cm from the light source. You'll need to wear protective eyewear during sessions and avoid direct eye contact with the light. Remember that more isn't always better – overexposure can actually reduce the therapy's benefits. Always follow your device manufacturer's specific guidelines, and adjust your session length based on your skin's response. If you're treating multiple conditions, you might need to vary your treatment times, but consistency in your schedule is key to achieving excellent results.
Optimal Times For Sessions
From early morning to evening hours, scheduling light therapy sessions strategically can profoundly impact their effectiveness. For best results, you'll want to schedule your sessions between 6:00 a.m. and 9:00 a.m., as this timing helps regulate your circadian rhythms and maximizes therapeutic benefits.
You'll get the best results by maintaining a consistent schedule of 3-5 sessions per week. For skin rejuvenation and pain relief, aim for daily sessions initially, then reduce to 3-5 times weekly as symptoms improve. If you're using light therapy for hair growth, schedule sessions every other day.
When treating Seasonal Affective Disorder (SAD) or mood disorders with a light therapy lamp, you'll need daily morning sessions lasting 30 minutes. Don't schedule your sessions too close to bedtime, as this can disrupt your sleep patterns.
Position your device at eye level, keeping a distance of 10-15 cm for red light therapy or 16-24 inches for 10,000 lux light boxes.
Remember to monitor your response to treatment and adjust the timing if needed, but try to maintain consistency in your schedule to obtain maximum effectiveness.
Recovery Between Sessions
Building on the importance of timing, proper recovery between light therapy sessions plays a key role in maximizing treatment benefits. You'll need to allow at least 6 hours between sessions to guarantee your body can properly process and respond to the treatment.
Most people benefit from scheduling 2-3 sessions per week, with each session lasting 10-30 minutes. Your recovery schedule shouldn't be rigid – it's important to adjust based on your body's response and needs.
If you're using light therapy for post-exercise recovery, you can apply it immediately after your workout to reduce muscle soreness. However, don't overdo it; daily sessions aren't recommended for recovery purposes.
Remember that light therapy works best as part of a thorough recovery strategy. You'll want to combine it with adequate sleep, proper nutrition, and rest days.
If you're using other recovery methods like massage or stretching, you can safely integrate light therapy into your routine. While you might notice some benefits quickly, expect the full effects to develop over several weeks of consistent use.
If you're unsure about your schedule, consult a healthcare professional for personalized guidance.
Frequently Asked Questions
Can Light Therapy Treatments Interfere With Prescription Medications?
Yes, light therapy can interfere with several medications you're taking, especially photosensitizing drugs like anticonvulsants, antipsychotics, and antidepressants. You'll need to consult your doctor before starting light therapy treatments.
Is Healing Light Therapy Safe During Pregnancy?
Yes, you'll find healing light therapy is generally safe during pregnancy since it's non-invasive and UV-free. However, you should always consult your healthcare provider first and avoid direct exposure to your abdomen.
How Does Altitude Affect the Effectiveness of Light Therapy?
You'll find light therapy remains effective regardless of altitude. While higher elevations increase UV exposure, this doesn't impact the therapeutic benefits of your light therapy sessions. Just maintain standard treatment protocols and safety measures.
Can Children Use Healing Light Therapy Devices?
Yes, you can use light therapy with children, but you'll need proper supervision, shorter sessions (5-10 minutes), and FDA-approved devices. Always consult your pediatrician first and use protective goggles during treatment.
Does Light Therapy Work Through Clothing or Bandages?
Yes, light therapy can work through clothing and bandages, but it's less effective. You'll get better results with thin, light-colored fabrics. Consider extending your treatment time when you can't expose bare skin.
In Summary
Light therapy puts healing power in your hands at home. You'll achieve the best results by following proper safety protocols, maintaining your device, and sticking to a consistent treatment schedule. Remember to track your progress with photos and notes, and don't hesitate to consult your healthcare provider if you have concerns. With patience and proper use, you're on your way to healthier, rejuvenated skin.


Leave a Reply